Adaptive Teaching Guidelines for Using ClassVR in The Classroom
By Sarah Perowne.
With special thanks to Jennifer Lovelock.
Recommendations for adapting ClassVR content and introducing the VR headsets successfully in a wide range of classroom environments.
- Adaptive Teaching Guidelines for Using ClassVR in The Classroom
- What is Virtual Reality?
- Introducing the ClassVR Headsets
- Navigating the Virtual Environment
- Structuring Inclusive Lessons Around ClassVR Experiences
- Before the Session
- Session One
- Session Two
- Session Three
- Session Four
- Adapting the Content for a Wide Range of Needs
What is Virtual Reality?
Prior to students wearing the headset or accessing any spaces, it’s crucial to ensure they fully understand what VR is and are comfortable using it.
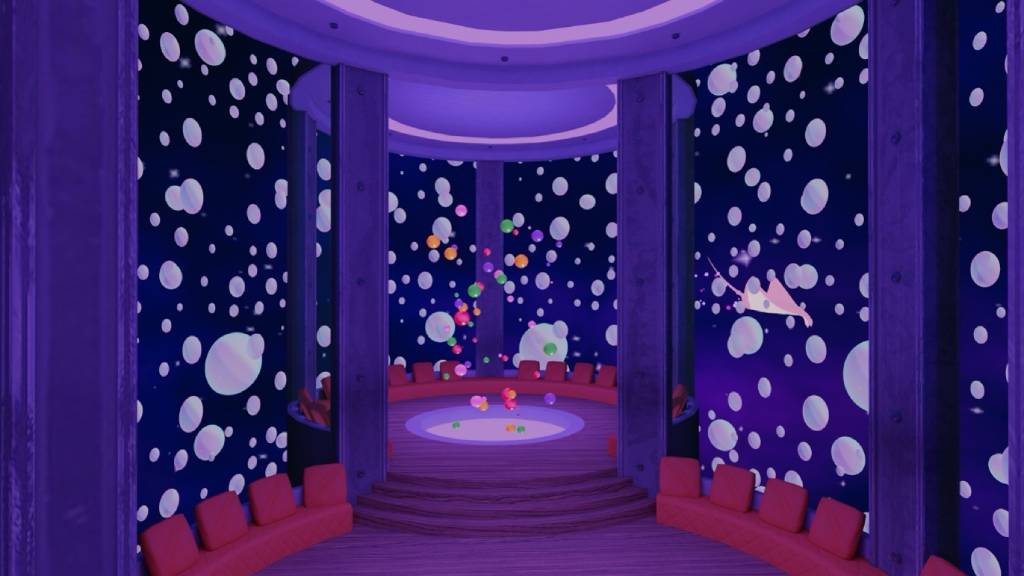
- Start by explaining that virtual reality is like "stepping into a new world." In this world, they can look around in all directions, see objects and environments as if they were real and, in some cases, interact with them using controllers.
- Emphasize that VR creates a fully immersive experience, where what they see and do can feel very lifelike, even though it exists entirely in a digital space.
- You may choose to present this information in different formats, for instance, written, for learners with sound processing challenges, or in widget symbols, for learners with reading barriers.
Introducing the ClassVR Headsets
Helping students become more comfortable with the VR headsets is crucial to getting the most out of the experiences.
- Before a student puts on a VR headset, we recommend explaining what it is first, especially for those who are not familiar with VR or for learners with high anxiety.
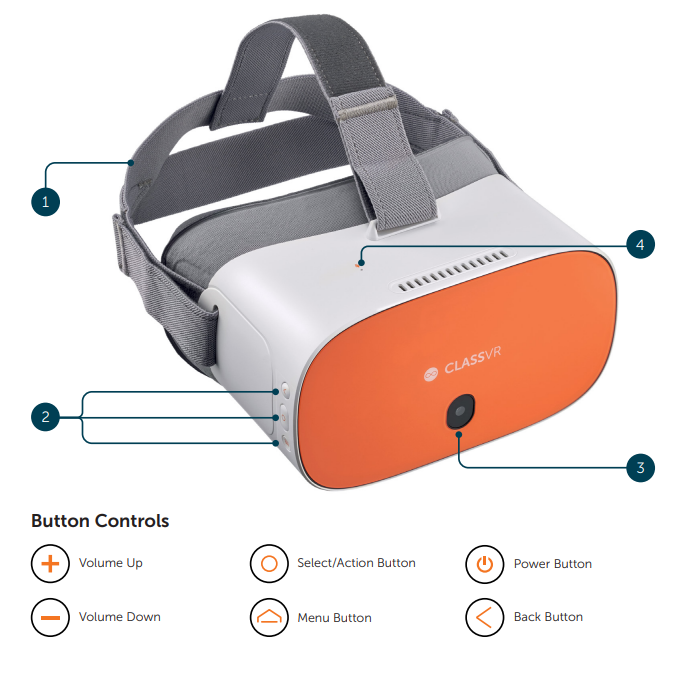
- Begin by showing students the parts of the headset and controllers, allowing them to hold them and explore the features. Ensure that students know where the volume button is located on the headset.
- Explain that the headset straps can be adjusted to fit comfortably.
- Demonstrate how to put the headset on and take it off, and reassure students that they can remove and wear the device whenever they want to.
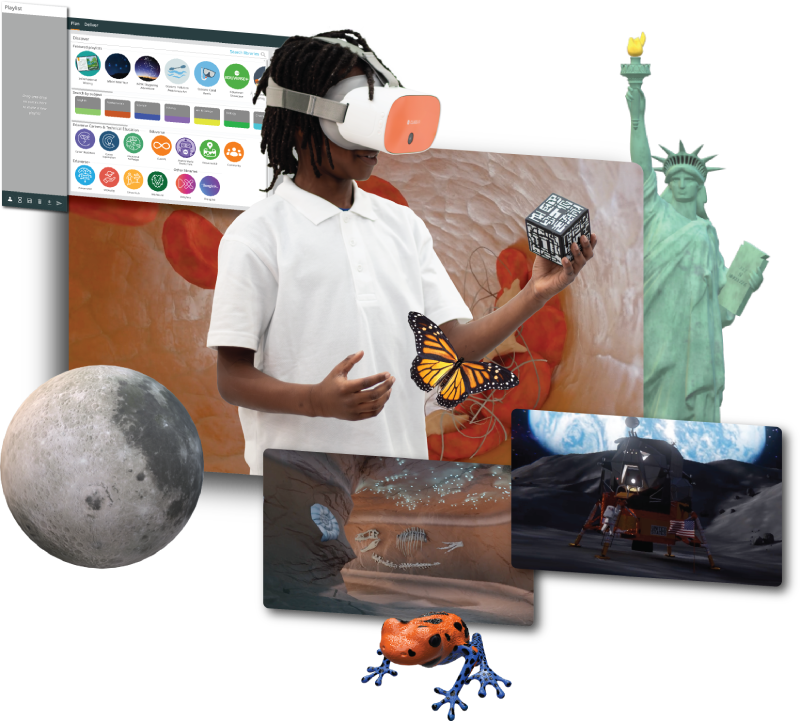
- While modeling, we also recommend introducing students to Classview through the ClassVR learning management portal. Explain that this tool allows educators to see what students are doing while using the headset.
- Once learners are confident, help them put the headset on and ensure they practice putting it on and taking it off before entering any VR experiences.
- Once in the headset, prompt students to test how to enter and exit an experience using the controllers or headset.
- Remind students that they are in control of the volume, show them where the volume button is located on the headset device they are using.
Navigating the Virtual Environment
Entering a fully immersive environment for the first time may seem unfamiliar or even a bit overwhelming for some students. Here are some tips:
Exploring Content With Movement
Some of our content, such as explorable scenes, allow students to navigate the environment as though they were exploring it in person. Here are some pointers for introducing this content to students:
- Encourage students to look around while sitting or standing still. First, ask them to describe what they can see and hear around them.
- Once they are at ease, ask if they would like to try moving around, either by using the thumbstick on the controllers to walk, by gently tilting their head (ear toward shoulder) to turn or by using the “select/action” button on the right-hand side of the headset.
- Remind students that they are in control and can remove the VR device or adjust the volume settings whenever they like.
- Once a student is completely comfortable, support them to begin interacting with the VR environment. You can do this by using Classview on the portal to provide direction, or by allowing them to explore freely by themselves.
Exploring Content Without Movement
Some of our content, such as the MyTHRIVE application and videos, does not allow free movement. Instead, students remain in a fixed position while they observe or interact. Guidelines for teaching this content effectively:
- Encourage students to look around the environment. First, ask them to describe what they can see and hear around them.
- Once they are at ease, ask if they would like to try turning around. They can do this by gently tilting their head (ear toward shoulder) or by using the joystick on the controller.
- Remind students that they are in control and can remove the VR device or adjust the volume settings whenever they like.
- To pause videos, they can press the select/action button on the controller.
Structuring Inclusive Lessons Around ClassVR Experiences
To ensure all students can fully engage with the learning, we recommend breaking content into smaller, manageable steps. Here are some tips to stagger the students learning across multiple sessions:
Before the Session
Preview the experience before introducing it in the classroom, as some VR environments may contain elements that are unsuitable for different individuals.
Refer to the teaching guide to adapt the learning for each group; the guidelines are written for specific age ranges, and adaptations or further assignments are included to support and stretch.
Session One
Before entering the experience or using any content, introduce students to the headset. Show them how to put it on, take it off and how to independently adjust the straps and settings. Ensure they are comfortable with this before showing any content.
Session Two
To scaffold the experience for students who might struggle with cognitive overload or overwhelm, show students the content, either on the ClassVR portal or via Eduverse. This will give students time to get used to the VR environment before they use the headset.
Session Three
Next, if students are confident, ask them if they would like to see the content via the headset. Again, model how to adjust settings and remove or put on the headset as needed. Once students are looking at the content, guide them to explore the immediate environment.
Session Four
As students gain confidence, gradually guide them with key questions and comprehension checks as applicable. This step-by-step session process may be needed each time a new experience is introduced.
Note: If a student is unable to access the 360° resource via the headset for any reason, ask them if they would like to explore on a tablet or interactive whiteboard. Most of the explorable scenes, videos and 3D models are also available via Eduverse. On the ClassVR portal, this is indicated by a small green button in the content, as shown below.

Side-by-Side Support in Virtual Settings
Designed for students who prefer a chosen support partner (peer or trusted adult) in explorable environments and some 360° images. There are a few ways a support partner can join an explorable scene or image:
Via the Portal
- Click, drag and drop the track you want into the playlist panel.
- Select the multiplayer mode.
- Unlock the device panel.
- Deliver the track by selecting the paper airplane button to send the content to the headsets.
- If multiplayer mode is selected, the content will be explored together on the headsets.
Via the Eduverse Link
- Click, drag and drop the track you want into the playlist panel.
- Select multiplayer mode.
- Select deliver.
- To allow users to talk, select the unmute button at the bottom of the device panel, which will enable the microphone to be used.
- Click the hyperlink button on the play/pause panel.
- Load the content in Eduverse.
- Click the join room and enter room button.
- To invite headsets or other browser enabled devices to the same room, simply select invite and scan the QR code with the QR scanner on the headset or camera on the respective device.
For more information look at these easy-to-follow ClassVR overview Videos
Adapting the Content for a Wide Range of Needs
ClassVR experiences can easily be adapted for a range of needs, to support confidence, for emotional regulation and sensory processing.
It’s key to note that some sensitivities may be impacted by VR, so being able to adjust the student experience can prevent these from becoming barriers.
Below are some ideas for using VR headsets for individualized instruction:
*Please note that the following are suggestions and may need to be adapted, as there is not a one-size-fits-all approach.
| Sensitivity/Challenge/Need | Examples | Adjustment Advice |
| Sensory sensitivities / sensory processing challenges | Feeling of the headset, sound/music, bright colors | Review the content in advance and let students know what to expect and when Gradually introduce the VR headset Practice wearing or holding the headset without straps Adjust headset volume or use ClassVR portal settings |
| Auditory overwhelm | Loud sounds, intense soundtracks | Review the content in advance and let students know what to expect and when Select calming content Shorter sessions with planned breaks Turn volume down and remind students how they can do it themselves Offer alternative content |
| Visual overwhelm | Bright colors, intense visuals, intense brightness | Review the content in advance and let students know what to expect and when Select calming content Show students the content via the browser before entering the VR space Offer alternative content Shorter sessions with planned breaks |
| Dyspraxia, motion sickness or motion-related difficulties | Motion sickness, difficulty moving safety within the virtual environment | Review the content in advance and let students know what to expect and when Provide an open and clear space Remove obstacles Begin experiences seated Gradually progress to standing/moving around as confidence grows |
| Fatigue / physical strain | Eye strain, disorientation, tiredness | Review the content in advance and let students know what to expect and when Limit session time to 5-10 minutes initially Build in planned breaks |
| Tactile sensitivities | Discomfort from headset pressure and/or straps | Review the content in advance and let students know what to expect and when Gradually introduce the VR headset Practice wearing or holding the headset without straps Build in planned breaks Offer the content via the browser |
| Sensory seekers | High energy, seeking physical activities | Review the content in advance and let students know what to expect and when Provide an open and clear space Remove obstacles Encourage students to make use of interactive elements Encourage free exploration Structure sessions and build in planned breaks Provide decompression activities after the VR experience |
| Students with high anxiety | Discomfort, reluctance wearing headset, struggle to self-regulate | Review the content in advance and let students know what to expect and when Choose an environment which promotes feelings of calm Offer the content via the browser Gradually introduce the VR headset Practice wearing or holding the headset without straps Build in planned breaks Pair student with trusted peer or adult for support |
Post-Experience Reflection
After a VR experience, encourage learners to reflect on what they saw, heard, or felt to support metacognition and self-regulation, helping them develop strategies that suit their individual learning styles.
- You could ask students to draw an image of their favorite part or something they noticed.
- Ask simple, reflective questions such as "What helped you understand this topic better," or "What was difficult, and what helped you work through it."
- Model reflective metacognitive thinking by verbalizing feedback and thought processes to demonstrate how to work through complex problems. For example, after the experience, verbalize a challenge encountered, and the strategies used to overcome it.
- Consider introducing visual learning aids, such as mind maps, "Now and Next" boards or flow charts, to give students a more accessible way to reflect.