ClassVR Charging Cart Troubleshooting – US 1st Generation
The ClassVR charging carts are designed to be robust and reliable. If your headsets are not charging, follow this step-by-step checklist to diagnose and resolve the issue.
Step 1 – Check if the cart has power
- Look for signs of power: power switch LED on, cooling fan running, and UV lights on.
- If none are on:
- Test the wall power outlet with another device.
- Check the power cord is securely plugged into both the outlet and the cart’s rear power inlet.
- Ensure the power switch on the control panel is in the ON position.
- Try pressing the reset button on the power control panel.
Step 2 – Mains Power Adapter
The mains power adapter is bolted to the top of the trolley (inside), supplying power to the USB charging hubs.
- Ensure all plugs are secure and inserted fully.
- Try plugging the USB hub power cables into a different outlet on the mains adapter.
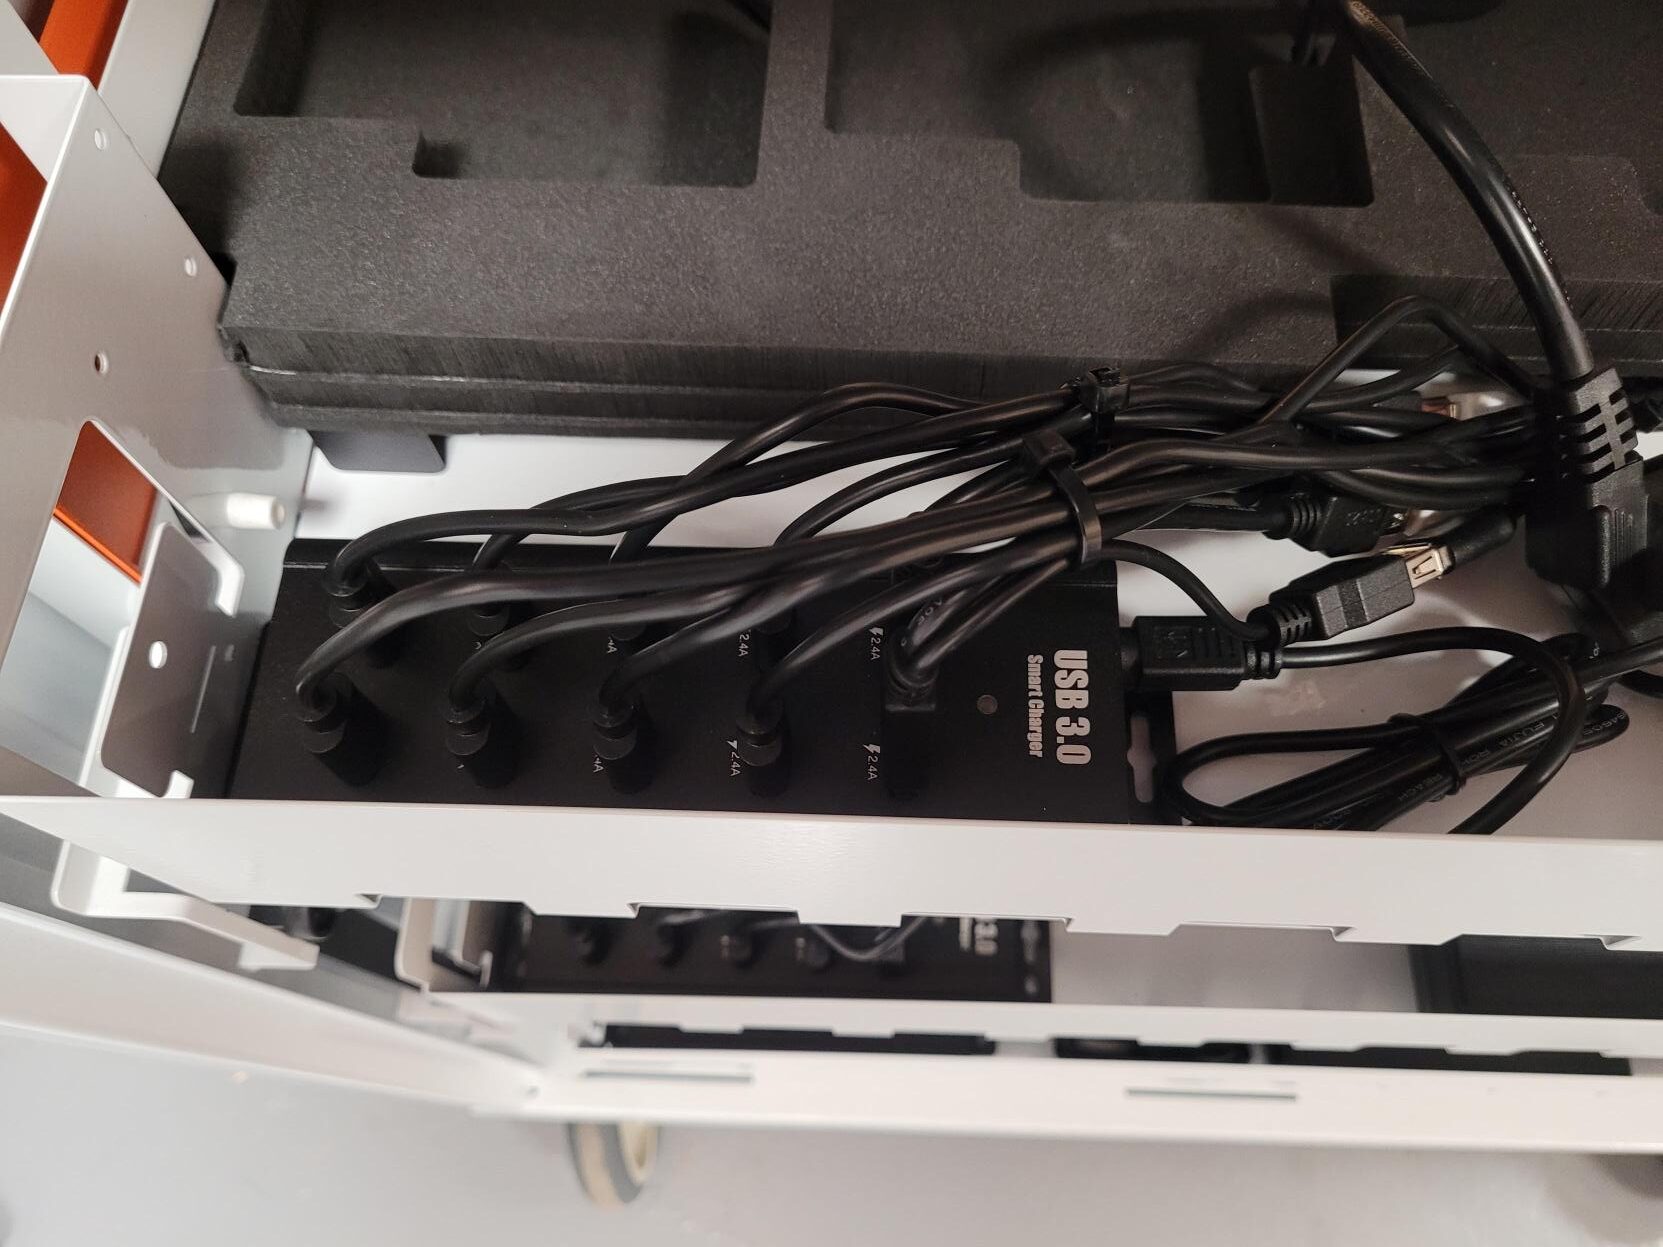
Step 3 – USB Charging Hub and Cables
Each drawer has a USB 3.0 hub (up to 10 headsets) powered by its own adapter.
- Try a different USB cable to charge the headset.
- Plug the cable into a different port on the hub.
- Ensure the USB hub power adapter is securely connected to the mains adapter.
- Check for any damage to cables or hubs.
- Restart the headset, then attempt charging again.
- Test the headset by charging it from a standard phone charger in another outlet.
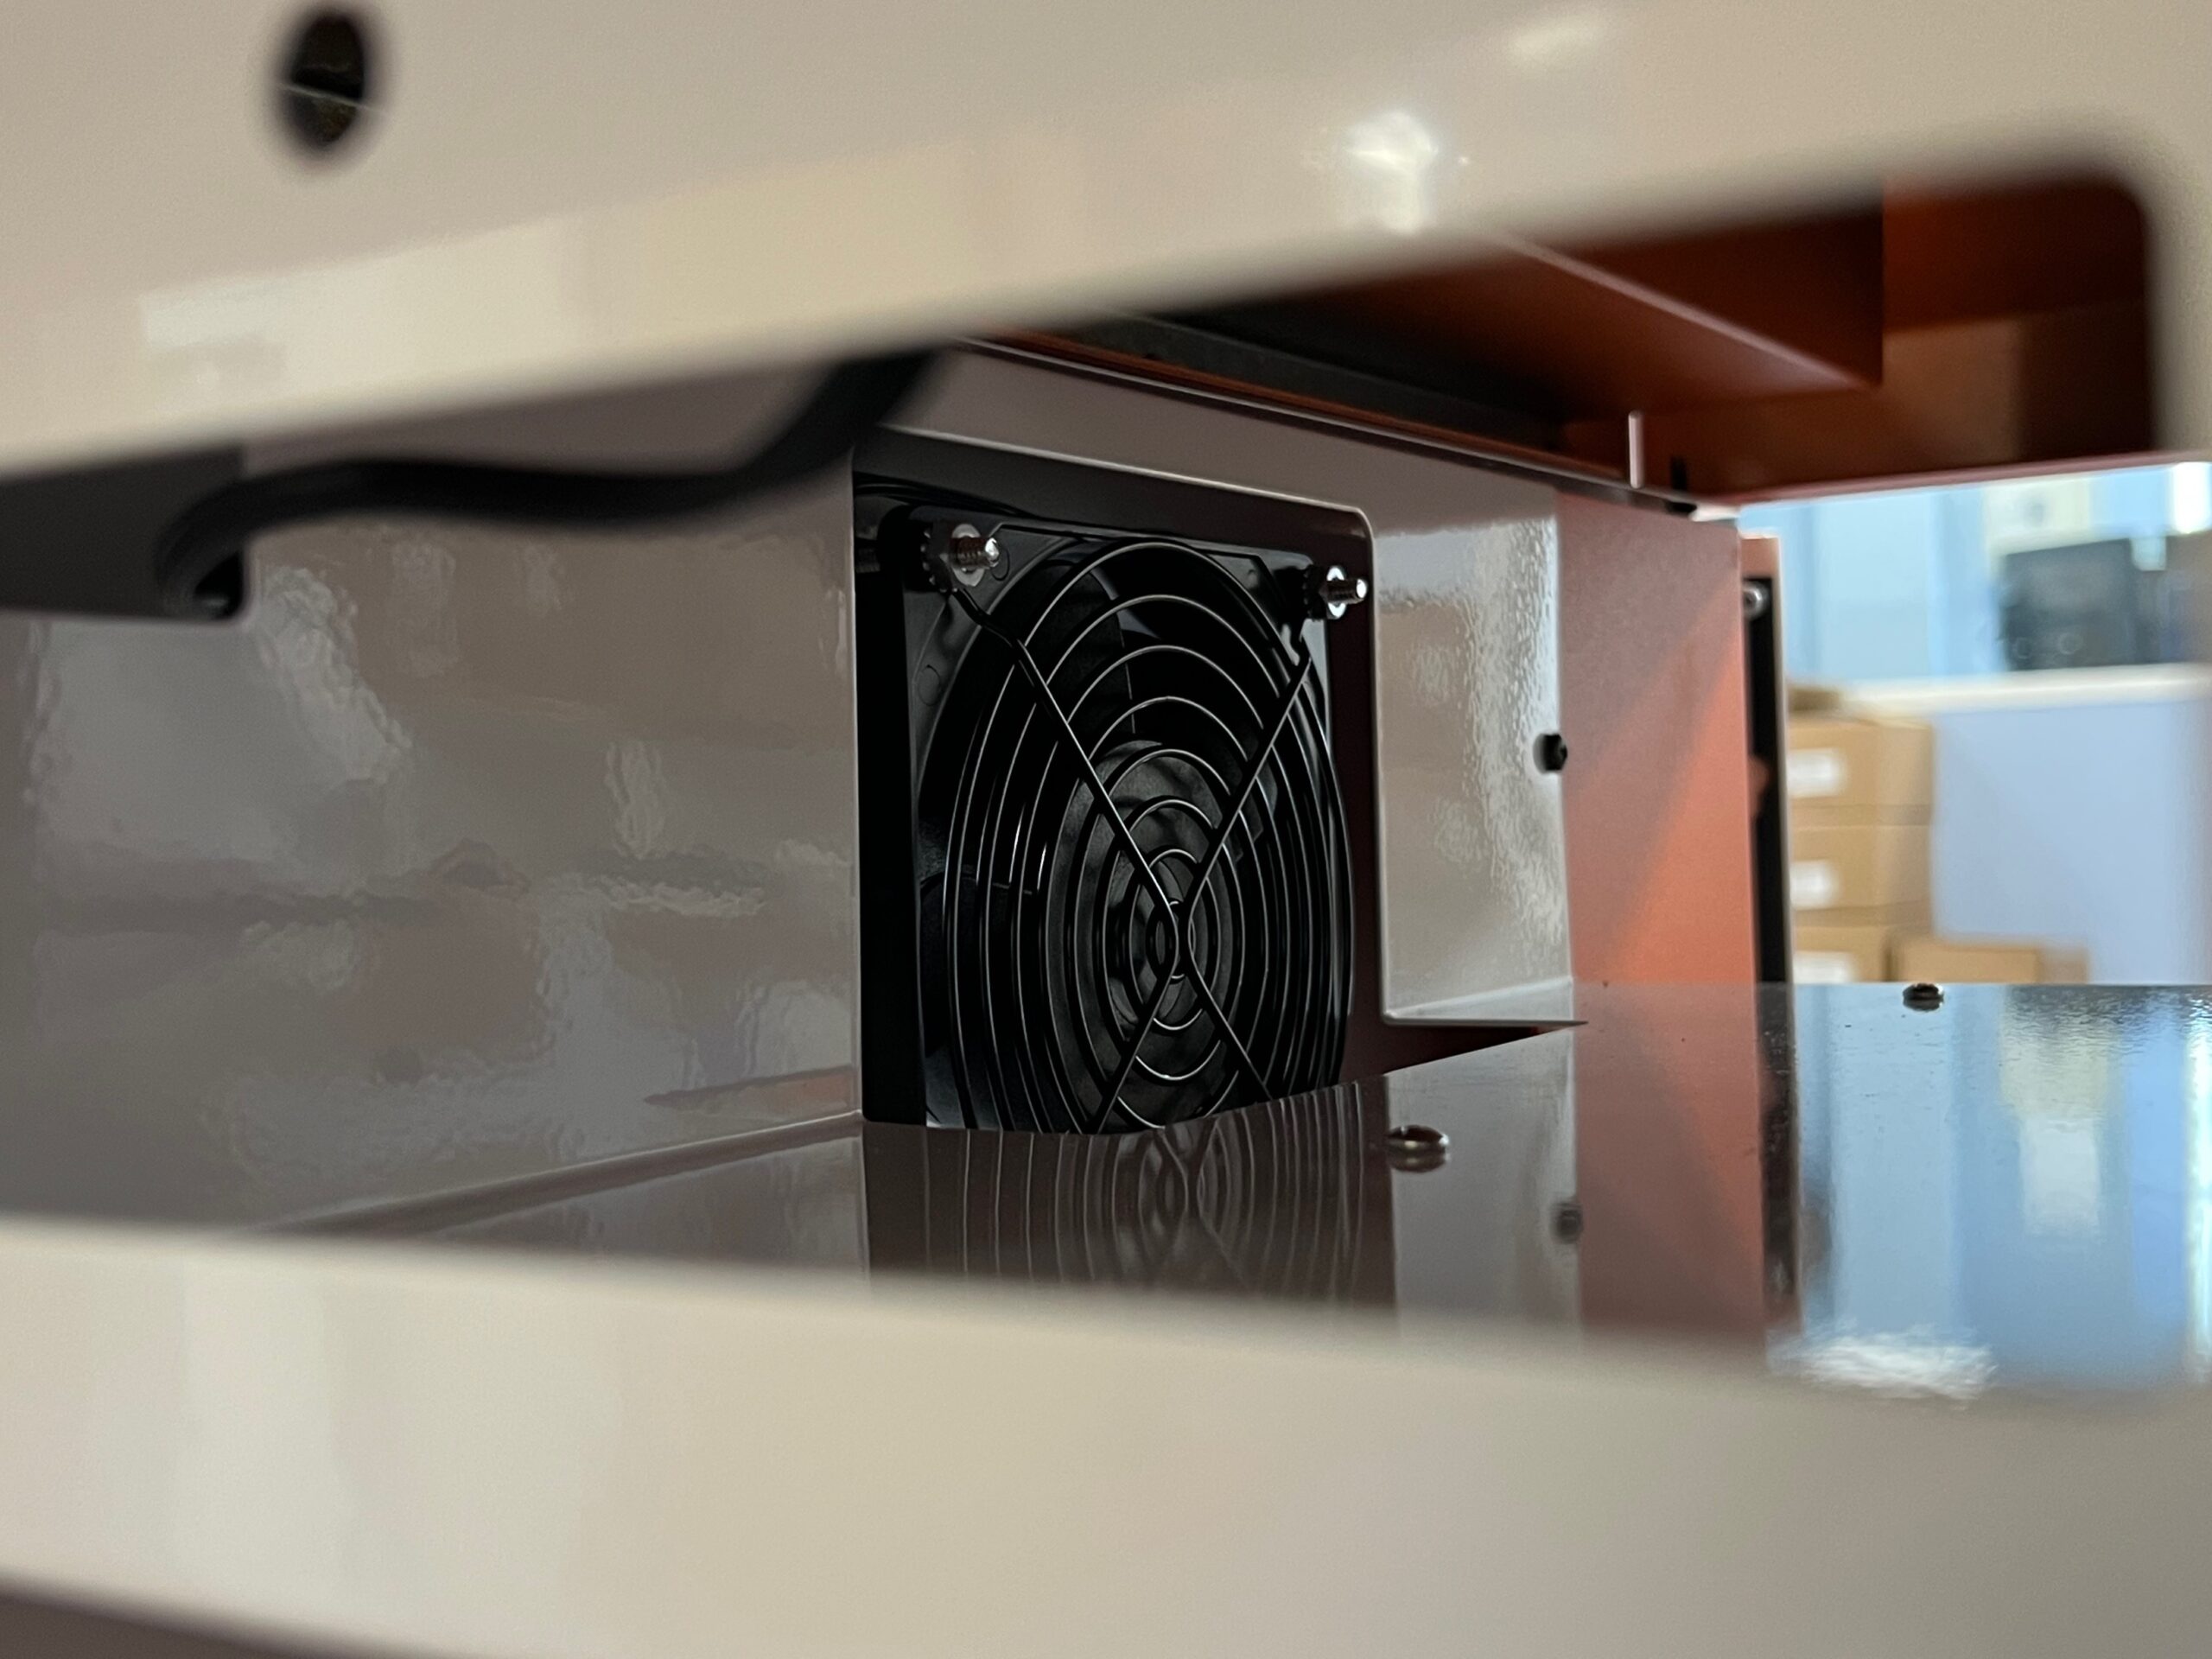
Step 4 – Overheating
The cooling fan is located on the right-hand side of the cart (viewed from the front).
If the inside of the cart is getting warm or the headsets show a hot battery warning:
- Ensure the fan is running when the cart is powered.
- Remove any obstructions from the fan blades.
- Check for physical damage to the fan.
If You Need Replacement Parts
Log a support ticket via the Troubleshooting section of our support portal.
For warranty details, see: ClassVR Warranty Information