Group filters can be used to divide up your class so that they can see different content.
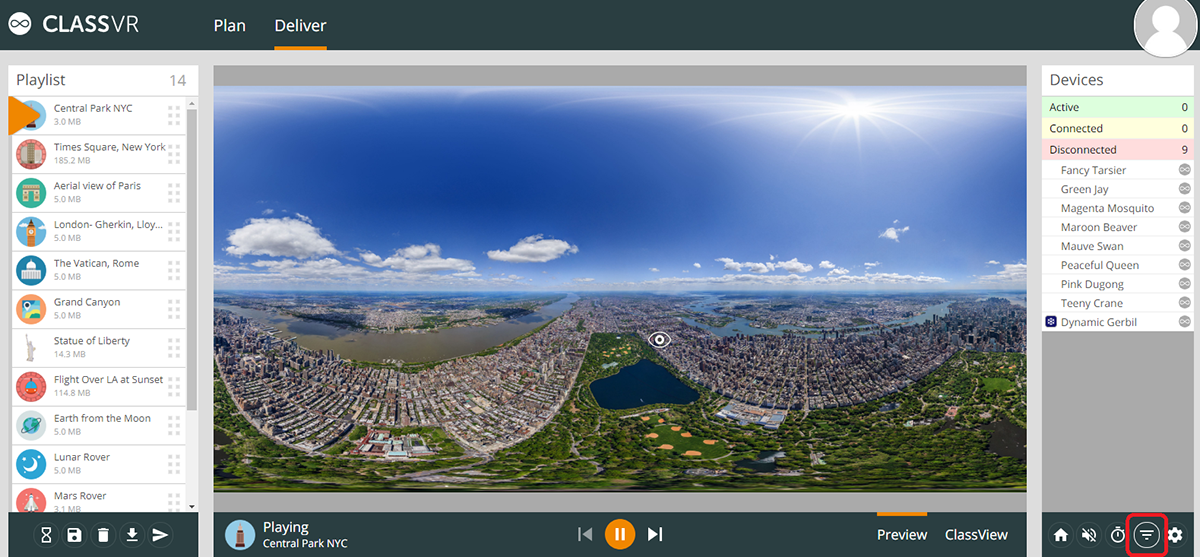
Click on the Deliver tab at the top of the ClassVR portal, then locate the Create New Device Filter icon at the bottom of the Devices pane.
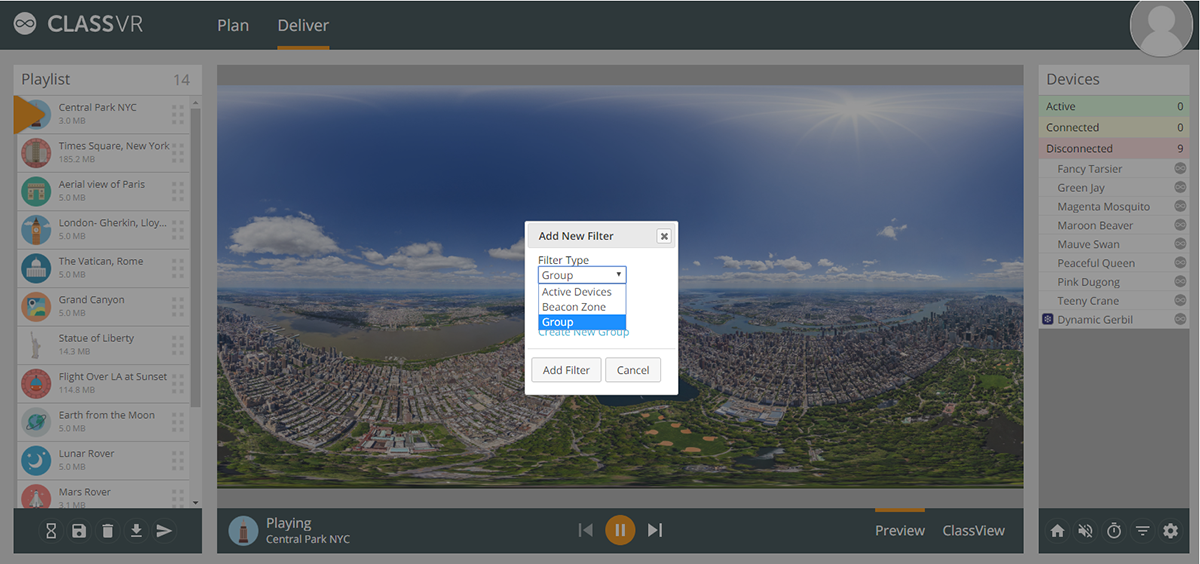
When the Add New Filter dialog box opens, select the Group option. Then click Create New Group when it appears.
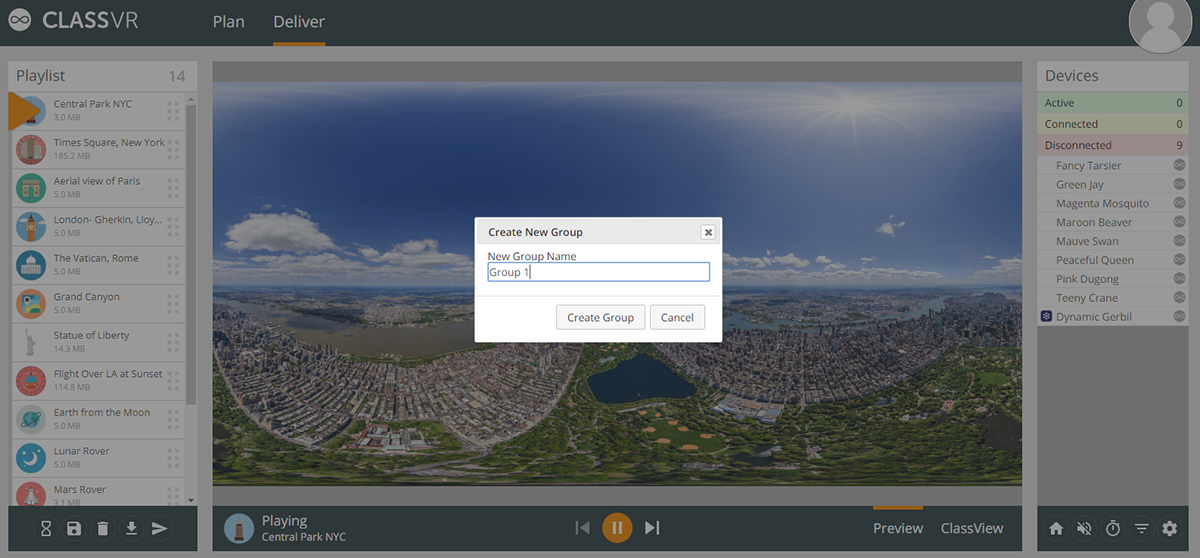
When the Create New Group dialog box opens, enter a name for the group you want to create and then click Create Group.
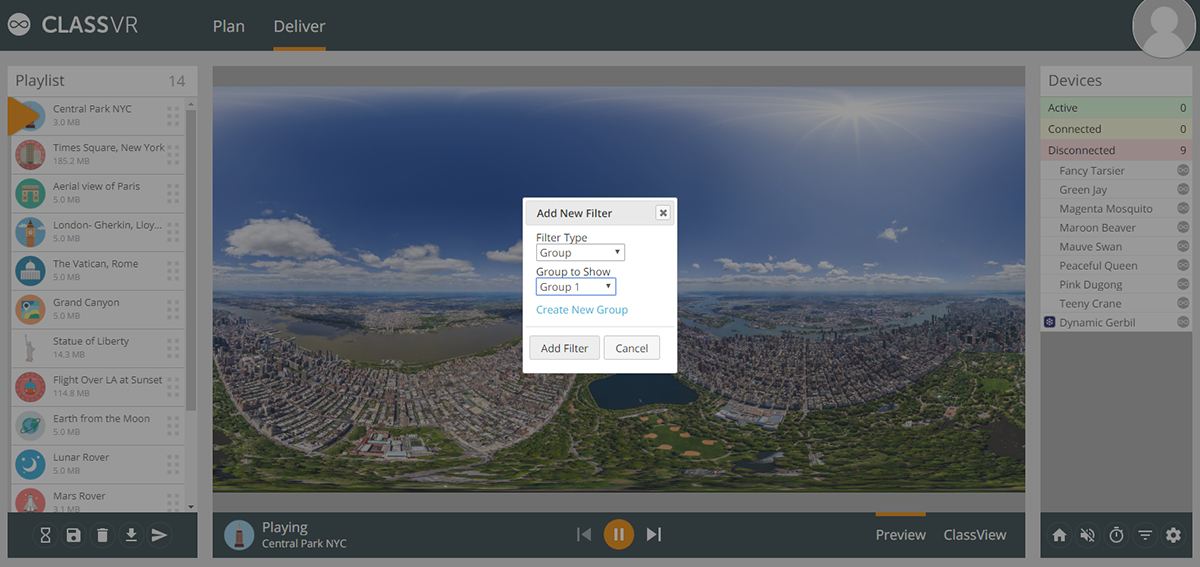
To select your group. Click on the Create New Device Filter icon again. Click on the Group to Show drop-down menu and click on the required group. Then click Add Filter.
The group will appear at the top of the Devices pane. After this, you will then have the option to select the QR code.
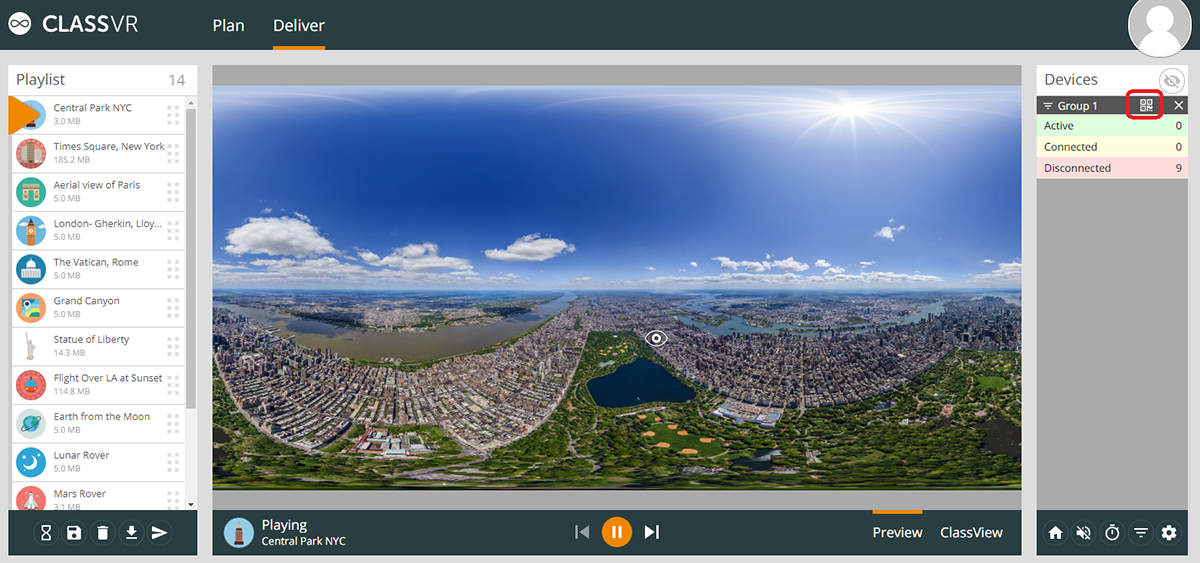
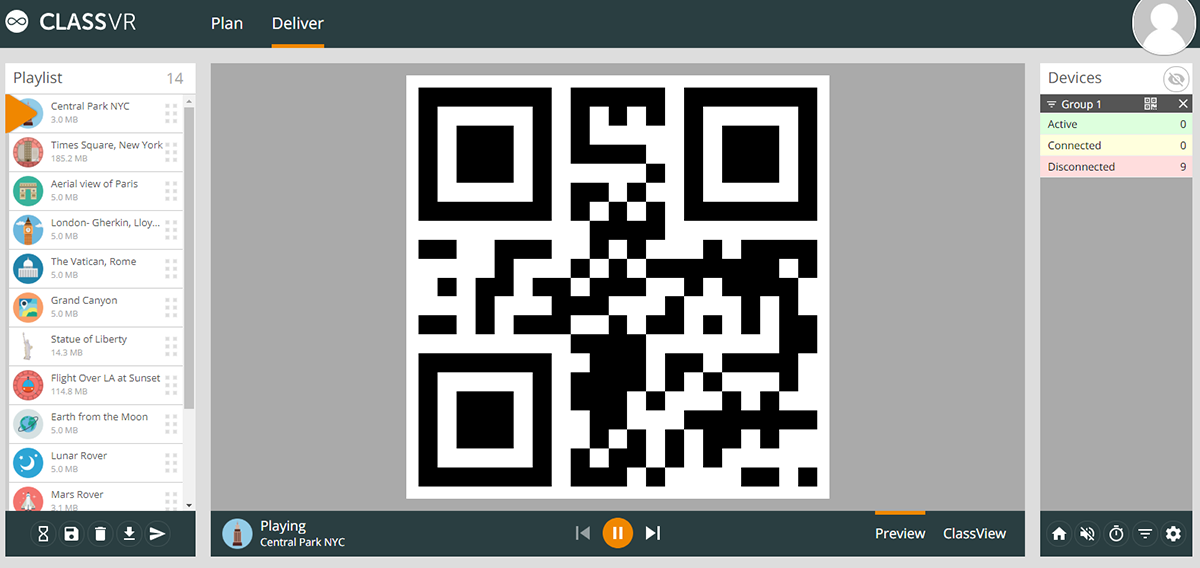
Clicking on this will then provide you with a large QR code. Using the Scanner app on the headset to scan this. The headset in question will now be allocated to that group. Repeat for each headset which needs to be added to the group.
Repeat this process to create as many groups as you need.
Groups only persist when headsets are added to them. If no headsets have joined the group, it will automatically disappear when you refresh the page. If you join a connected headset to the group, the group will remain in the list until all headsets have been removed (even if they are disconnected).